Bucky Balls
Putting them back into a cube
1:
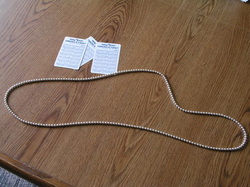
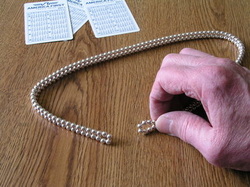
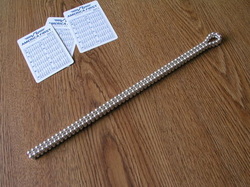
Fun, fun, fun. The Bucky Balls package consists of 216 neodymium (very strong) magnets. They are all in the form of a small ball covered with protective metal. A myriad of forms can be made from these balls. BUT, to get them back into cube can be a daunting task without some help.
There are several methods to do this. I like this method best.
You form them into a single string of balls --- a necklace. This is a string of the Bucky Balls formed into a loop.
There are several methods to do this. I like this method best.
You form them into a single string of balls --- a necklace. This is a string of the Bucky Balls formed into a loop.
2.
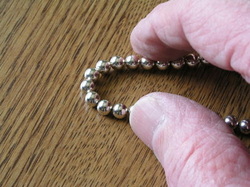
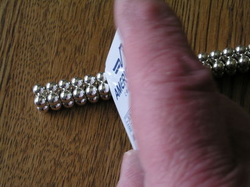
Taking one end you carefully squeeze it together. When doing so, align them so they align themselves across from each other. You do not want a "staggered" arrangement here.
3.
You will now have two parallel rows as shown. It's really fun at this point, since on a slippery table surface, they automatically "zip" themselves together ... almost to the end. You merely help it along until you have a complete double row.
4.
You can then run your finger along until the loop at the end is closed and you have a double ball string.
5.
Loop this double string around and join it.
6.
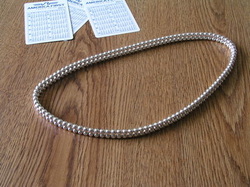
You now have a double row necklace.
7.
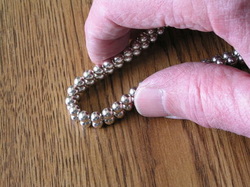
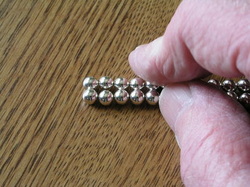
You will now repeat what you did with the previous single row necklace. You will squeeze the end, careful to line up the balls so they are not staggered.
8.
Note you now have a series of cubes. Again, if on a slippery table, it will automatically assemble itself almost to the end. You can help finish the process by gently squeezing the end together.
9.
What fun!
10.
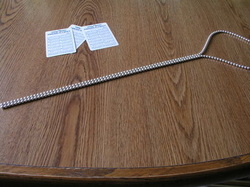
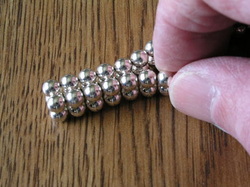
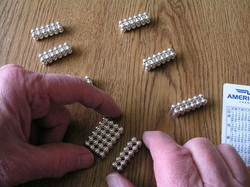
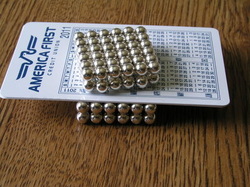
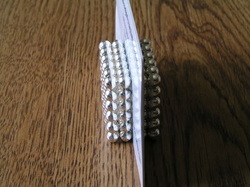
You now have a complete quad row. Wasn't it fun to see how this one, too, zipped itself right together? Next, you wondered what those plastic calendar cards were for didn't you? They are your scissors. You will separate this quad row by pushing the cards between the balls. You want six balls across --- a group of 24 balls in each group.
When splitting the quad row, be careful to keep the orientation of your separated balls all up. Why? Because if the orientation is wrong, you will not be able to get them to join correctly.
When splitting the quad row, be careful to keep the orientation of your separated balls all up. Why? Because if the orientation is wrong, you will not be able to get them to join correctly.
11.
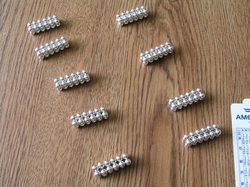
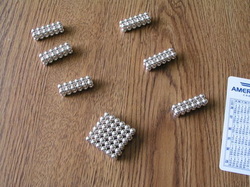
You now have nine groups -- six balls across and 24 balls total in each group.
12.
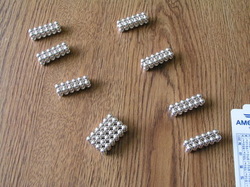
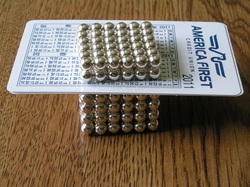
You will now form a square plate, "pancake," with the next few steps.
If you were careful to keep these groups all "up" while separating them using the plastic cards, they should join together with little problem. Using the cards separator as you join these segments will assure the correct alignment. If the magnetic orientation is correct, they will join as in this photo.
If you were careful to keep these groups all "up" while separating them using the plastic cards, they should join together with little problem. Using the cards separator as you join these segments will assure the correct alignment. If the magnetic orientation is correct, they will join as in this photo.
13.
This photo shows joining the last 24 ball segment to the previous assembled piece. This will result in the square pancake of balls.
14.
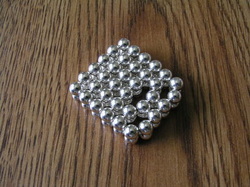
This shows one square finished pancake.
15.
On occasion, you will see some separation of the balls during the previous steps.
16.
By gently squeezing the sides together, you can reform it back into a perfect square.
17.
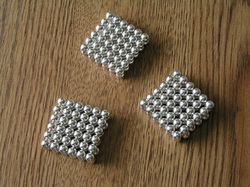
At this point you should have three assembled square pancakes. These three pancakes will make the cube.
18.
These next few final steps will assemble the pancakes into the cube. It is best to use three thicknesses of plastic calendar cards to test the magnetic orientation and position the square above the other square.
19.
I like to tip mine up so I can better view and finish the alignment process.
Once you determine it is correct, remove the plastic cards.
Once you determine it is correct, remove the plastic cards.
20.
This is the final step. You use the plastic calendar cards spacer to test and align the last pancake of balls.
Remove the card once the alignment is correct.
Remove the card once the alignment is correct.
21.
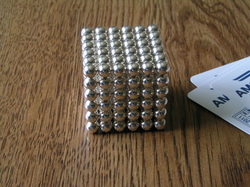
And, presto! Your cube is now complete.
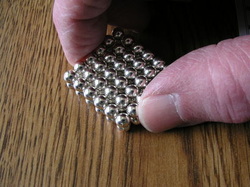
22.
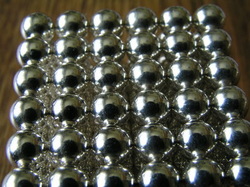
It's fun to examine the cube up close. Reflections of other balls on the sides of the balls makes for a dazzling pattern. Tilt the cube under good light to get this effect.
